Getting started
General
First of all, thank you for purchasing Medikit! Before you get started, please be sure to always search this Documentation that outline all kinds of good information and provide you with all the details you need to use Medikit. This theme can only be used with WordPress and I assume that you already have WordPress installed and ready to go. If you do not, please follow this link to see how to install WordPress.
Requirements For Medikit
To use Medikit:
- Check to ensure that your web host has the minimum requirements to run WordPress.
- Always make sure they are running the latest version of WordPress.
- You can download the latest release of WordPress from official WordPress website.
- Always create secure passwords FTP and Database.
Recommended PHP Configuration Limits
Many issues you may run into such as: white screen, demo content fails when importing, empty page content and other similar issues are all related to low PHP configuration limits. The solution is to increase the PHP limits. You can do this on your own, or contact contact your web host and ask them to increase those limits to a minimum as follows:
- max_execution_time 180
- memory_limit 128M
- post_max_size 32M
- upload_max_filesize 32M
What you have purchased
The file you have downloaded contains several folders:
- Documentation (that contains this very page)
- Dummy Data, that contains:
- medikit_demo_contents.xml, the demo content taken from here
- medikit_demo_widgets.wie that contains the info to import widgets as well, by using this plugin
- medikit_theme_options.json, that contains the demo theme options settings.
- home-slider.zip, the homepage slider you can import using "Slider Revolution" plugin.
- Languages that contains:
- medikit.pot , the file you need to translate the theme in your language using Poedit
- Licensing, folder containing the licensing text files.
- WordPress Theme that contains:
- a folder called "medikit" you can upload via FTP
- and a ZIP file called "medikit.zip" you can upload from the WordPress backend
How to install the theme
You have two options to install the theme (read above where the files are located):
- by using an FTP client (FileZilla, Dreamweaver, FireFTP or similar) upload the folder called "medikit" to
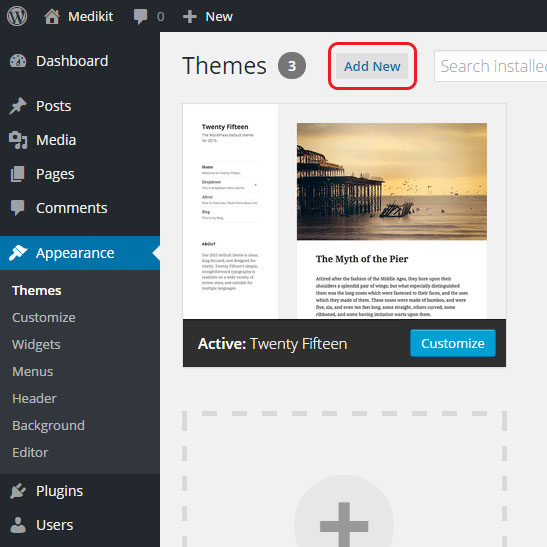
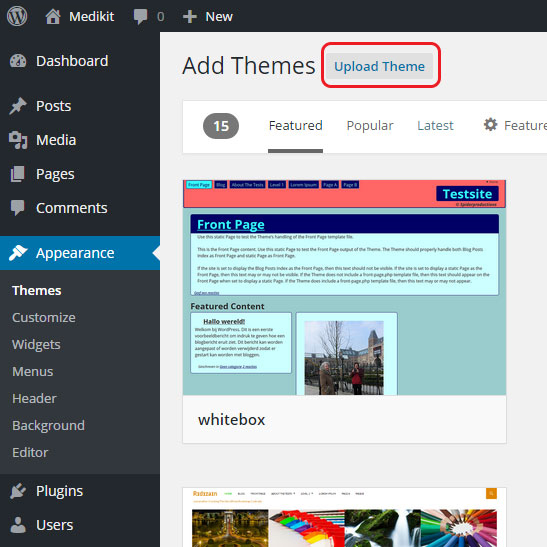
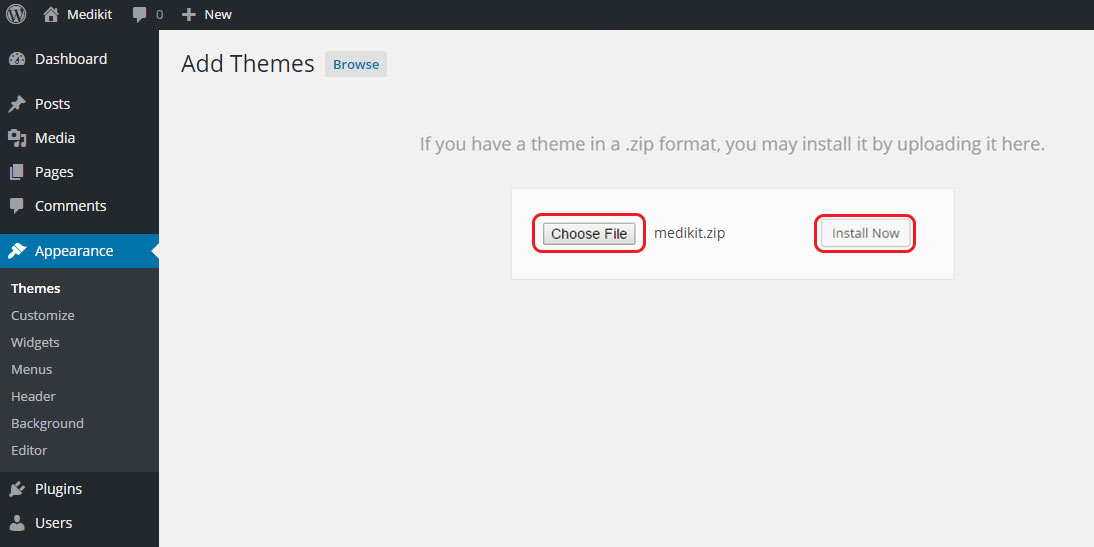
your_root / wp-content / themes - directly from the WordPress backend, go to "Appearance" → "Themes" → "Add new (theme)" and click the "Upload theme" button on the next page. With the browse button find the aforementioned "medikit.zip" file, then click "Install now".
After you have installed the theme, you might see the following warning:
"Redux Framework has an embedded demo . Click here to activate the sample config file."
To properly configure the theme, please ignore the warning by clicking on the "X" to its side.

How to install plugins
Above the theme options panel you should see this message box:

That's the list of the required and recommended plugins. The required plugins provide a large part of the features of this theme.
The recommended plugins are not mandatory, you won't read warning messages or get blank pages without installing them, but they are necessary if you want to update the theme and import the demo content correctly. Otherwise you'll get some "failure" notices during the import process and your installation won't reflect the demo, just this.
Simply click the "Begin installing plugins" button then the "Install" button on each plugin to start installing them. After you’ve installed them, an "Activate" button will appear which you can click to start activating them.
If you want both to use WooCommerce plugin and to import the demo content you see here, then please delete the WooCommerce pages (Cart, Checkout, My Account and Shop) generated after the WooCommerce plugin initial setup. Otherwise, if you don't want to replicate the demo, leave the WooCommerce Pages generated after the plugin initial setup.
Theme initial setup
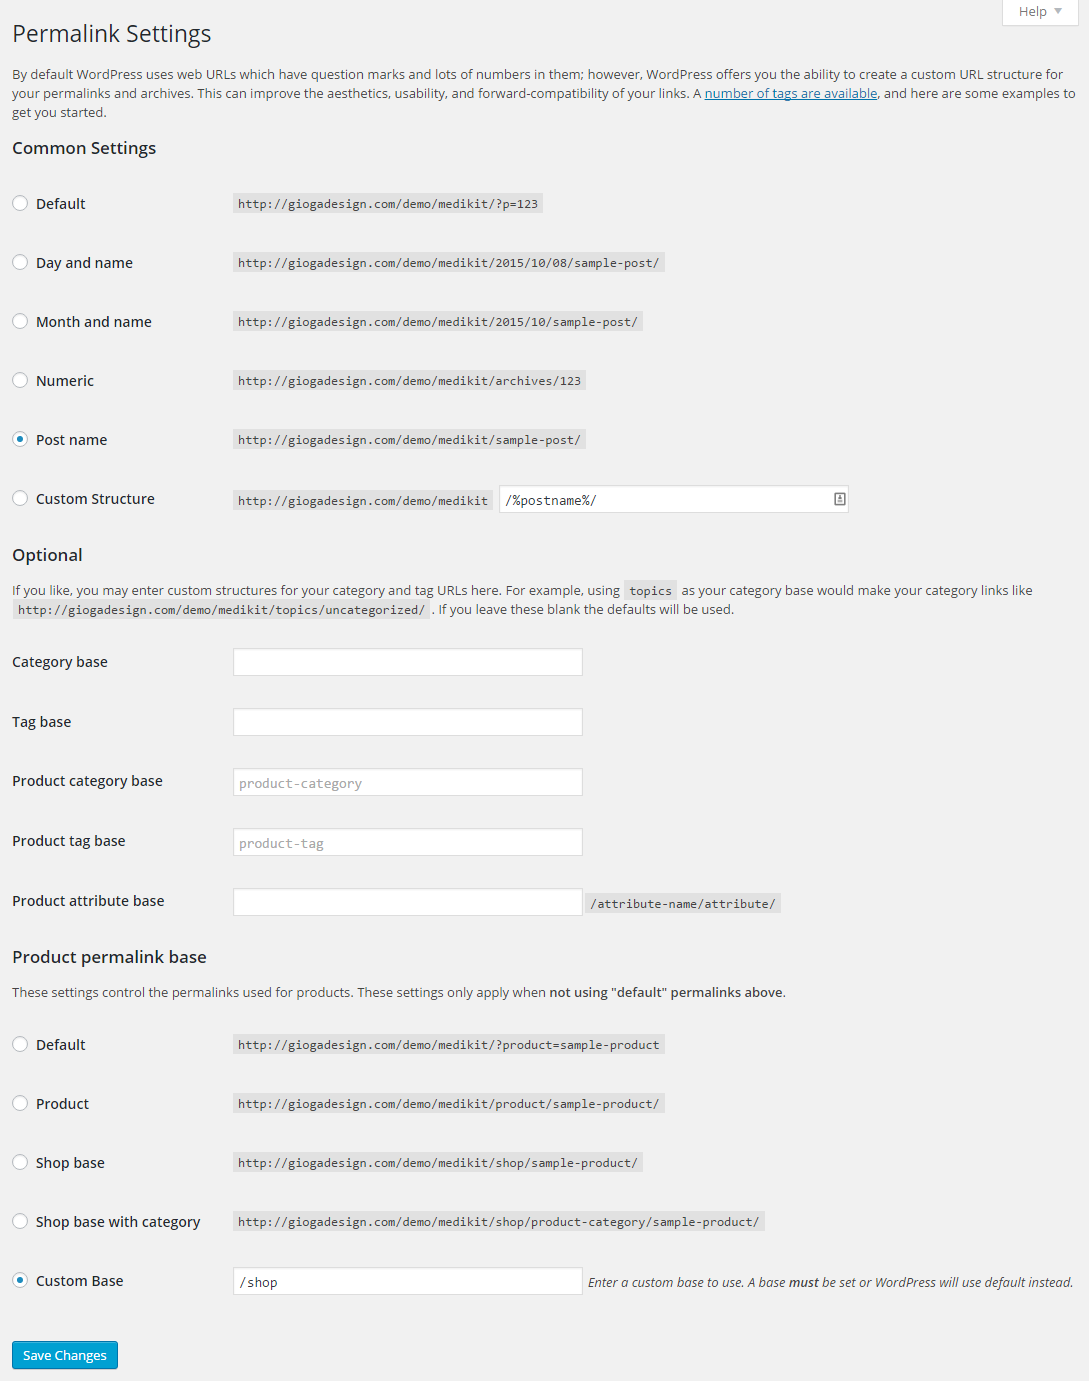
Update your permalink structure
Setting up the Menu
Medikit supports custom WordPress menus, with multiple levels of dropdown support for the main menu. There is one area of the theme where you can assign a menu:
- Menu, to which assign the menu of the main top navigation.
Once a menu is created and assigned to the location, it will show up on the site. There are also several options to customize the menu. Please see below for how to create a new menu and the available menu styles.
- Navigate to "Appearance" → "Menus" section of your admin sidebar.
- Enter the menu name then click the "Create Menu" button.
- To add a menu item, select one of your created pages on the left hand side and click the "Add to Menu" button. You can also add all kinds of different links and categories from the left side.
- To add a custom menu item, enter a custom name and link into the Links box.
- Manage your menus by using the drag and drop functionality. To create a dropdown menu, simply drag a menu item below and slightly to the right of another menu item, and it will lock into place and create a dropdown section.
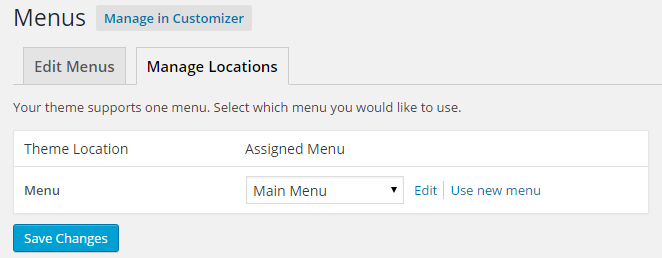
- After setting up your menu, scroll down to the bottom of the page to assign the menu to the "Menu" location in the Theme Locations box.
- Once its all done, make sure you click the "Save" button.
Choose the Template
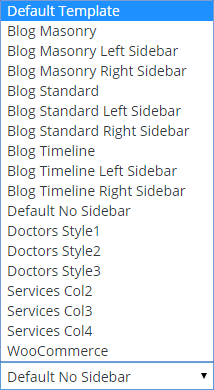
Medikit includes several page templates to choose from, and you will need to choose the page template that suits your needs. For example, if you want a page without sidebar, then you would select the "Default No Sidebar" page template. All of this is done in the Pages section of your WordPress admin.
- Default Template – This is the Default page template that automatically has the sidebars with it.
- Default No Sidebar – This is the Default page template without sidebars, you should choose it for homepage and contacts page.
- Blog Masonry – This is the Blog page template with masonry style and without sidebars.
- Blog Masonry Left Sidebar – This is the Blog page template with masonry style and with left sidebar.
- Blog Masonry Right Sidebar – This is the Blog page template with masonry style and with right sidebar.
- Blog Standard – This is the Blog page template with standard style and without sidebars.
- Blog Standard Left Sidebar – This is the Blog page template with standard style and with left sidebar.
- Blog Standard Right Sidebar – This is the Blog page template with standard style and with right sidebar.
- Blog Timeline – This is the Blog page template with timeline style and without sidebars.
- Blog Timeline Left Sidebar – This is the Blog page template with timeline style and with left sidebar.
- Blog Timeline Right Sidebar – This is the Blog page template with timeline style and with right sidebar.
- Doctors Style1 – This is the Doctors page template with style1 and without sidebars.
- Doctors Style2 – This is the Doctors page template with style2 and without sidebars.
- Doctors Style3 – This is the Doctors page template with style3 and without sidebars.
- Services Col2 – This is the Services page template with 2 columns and without sidebars.
- Services Col3 – This is the Services page template with 3 columns and without sidebars.
- Services Col4 – This is the Services page template with 4 columns and without sidebars.
- WooCommerce – This is the main Shop page with sidebar, you should choose it if you have an e-commerce website which uses WooCommerce plugin.
Theme Customization
Medikit Theme Options overview
With Medikit Theme Options Panel you can choose from tons of options (Colors, Google-Fonts, Layouts etc.) to define the look of your site and preview changes in real time.
To begin your site customization:
- from the WordPress backendgo to Theme Options
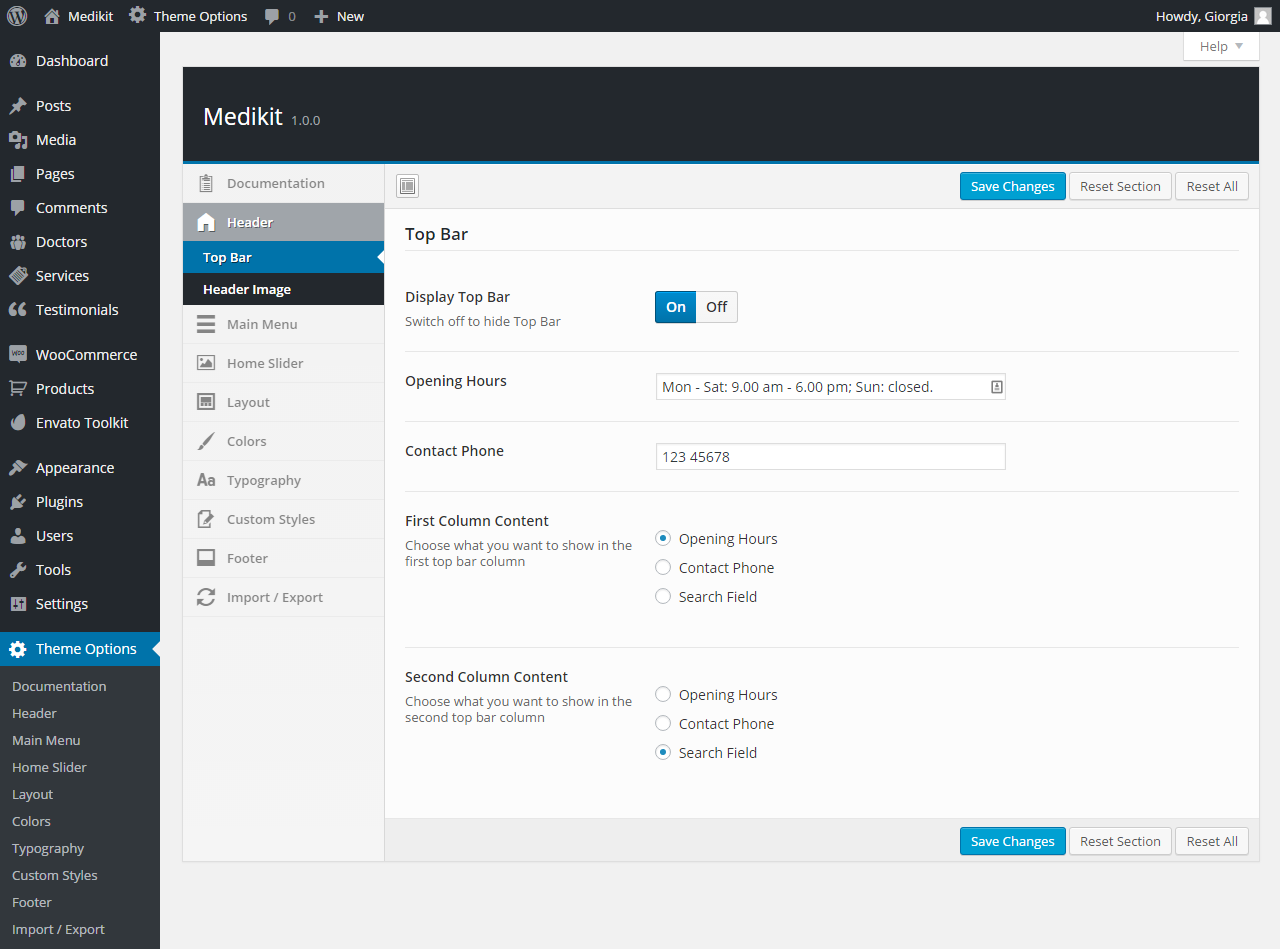
- in the Theme Options panel choose the tab option you want to edit and when you're done making changes, click on the "Save Changes" button at top.
- You can choose between the following options:
- Documentation, with a brief overview of the theme customization options.
- Header (with top bar and the header image options).
- Main menu, where you can upload your logo and choose the menu slyle.
- Home Slider, where you can define the slides of your main slider.
- Layout (wide or boxed with background options).
- Colors, where you can decide your site colors from topbar to footer.
- Typography, where you can choose the perfect Google Font for your site.
- Custom Styles, to make changes to the main stylesheet of your theme (the custom rules you set here will not be overwritten when you next update the theme).
- Footer, where you can change the footer text and the social links.
- Import / Export, where you can import the demo options or export your site options.
If you make changes to the theme’s files (i.e. anything within the “/themes/medikit/” directory), those changes are likely to be overwritten when you next update the theme.
A child theme allows you to set up a standalone directory in which you can make create copies of the theme’s files and tweak away, without fear of your work being overwritten by any future updates.
If you don’t know how to create a child theme, please follow this link.
Upload your logo
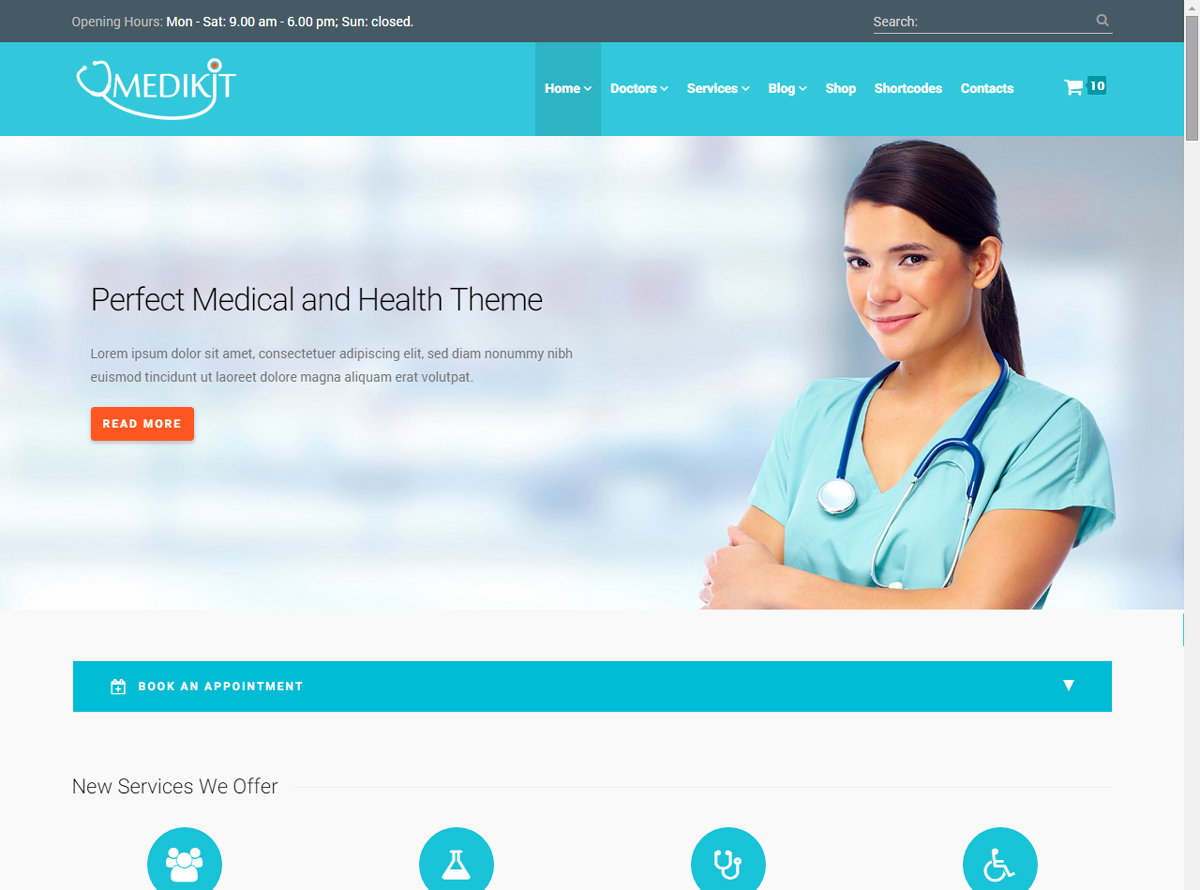
From the "Main Menu" section of Medikit Theme Options panel you can upload a custom logo that will be visible on your main navigation.
If you do not upload a logo, the default Medikit logo will be displayed instead.
Choose menu styles
With Medikit you can choose between 3 different menu styles: a right menu, a left menu and a center menu. After you have set up the menu, as explained above, you need to follow these steps:
- from the WordPress backend go to "Theme Options"
- open the "Main Menu" tab, choose the menu style that will be displayed as main navigation at the top of your page and then click the "Save Changes" button.
Some examples of the menu variations are shown below.


Wide or boxed layout
From the "Layout" section of Medikit "Theme Options" you can choose between wide or boxed layout.
With "boxed" layout you can set a background image which will be visible on the right and left borders of your site. To upload your custom background image, you can also go to the "Background Image" section of Medikit theme customizer.
With "wide" layout, the right and left borders of your site will have the same color of your background.
Change colors
From the "Colors" section of Medikit "Theme Options" you can choose between 13 color schemes for your website.

Change Links Color
To change links color, go to the "Colors" section of Medikit Theme Options and select your desired color palette, then click the "Save Changes" button.
Change Main Text Color
To change main text color, go to the "Typography" section of Medikit Theme Options and select the font color you want for paragraphs and headings.
Change Other Colors
To change Top Bar / Menu / Footer Colors, as for links color, go to the "Colors" section of Medikit Theme Options and select your desired color through the pickers.
Change header image
To change the Header Image which will be displayed on the header section of your pages (the background image of breadcrumbs) go to the "Header" → "Header Image" tab of Medikit Theme Options and upload or select your desired image.
Change font
To edit the Fonts of your site, go to the "Typography" tab of Medikit Theme Options, check the boxes and begin typing the font family you want to use.
Change footer text
To change the text displayed in footer, go to the "Footer" tab of Medikit Theme Options, and type your custom text into the "Footer Text" section.
Widgets and Sidebars
All widgets are accessed in the "Widgets" section of the WordPress admin. Widgets can be added to any sidebar.
There are various fields and settings to choose for each individual widget; all are self explanatory.
You can put as many widgets as you want inside of a sidebar.
This theme supports 5 widgets areas: right sidebar, left sidebar, shop right sidebar, shop left sidebar and footer sidebar. Check out the demo to see how they are used.
Add contents
Add the Homepage
After you've created an homepage, from the WordPress Dashboard, go to "Settings" → "Reading" and select the "A Static Page" option which is under the heading "Front Page Displays". Then Select the page that you created from the "Front Page" drop down . eg: Home.
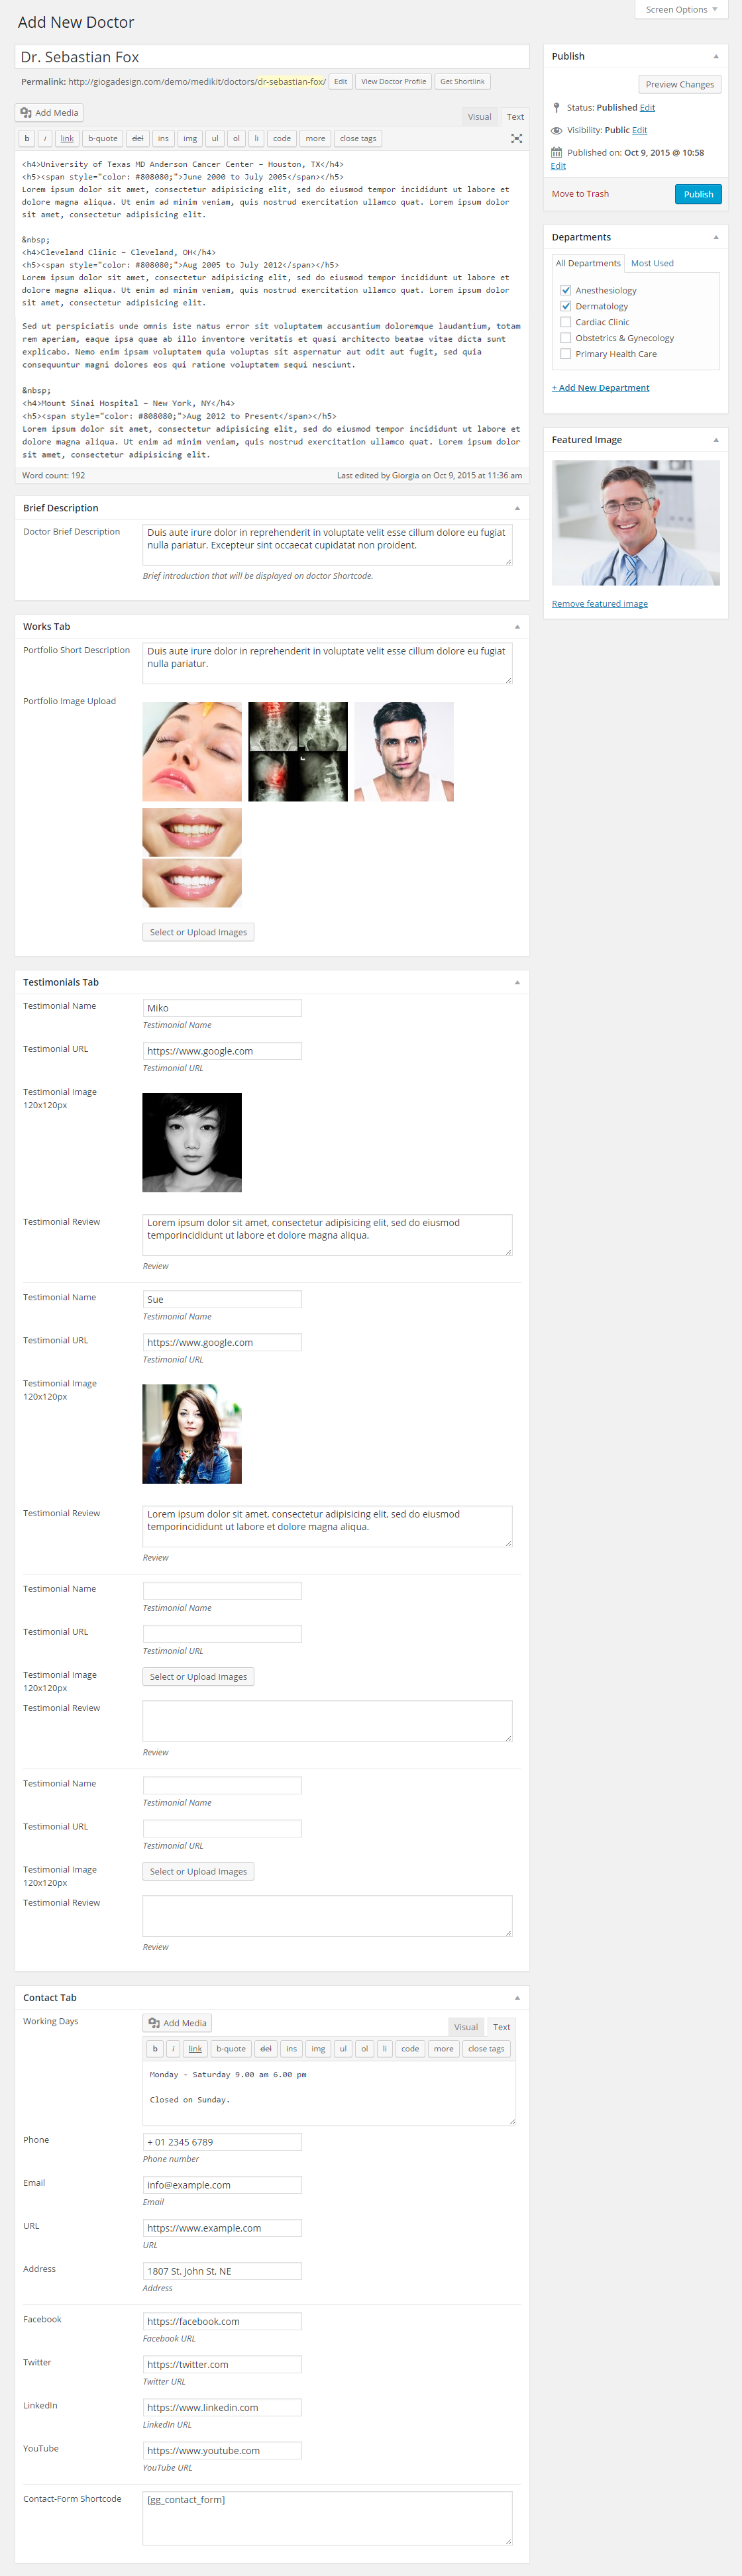
Add new Doctor
Directly from the WordPress backend, go to "Doctors" → "Add New", fill in the fields like the example below then click the "Publish" button.
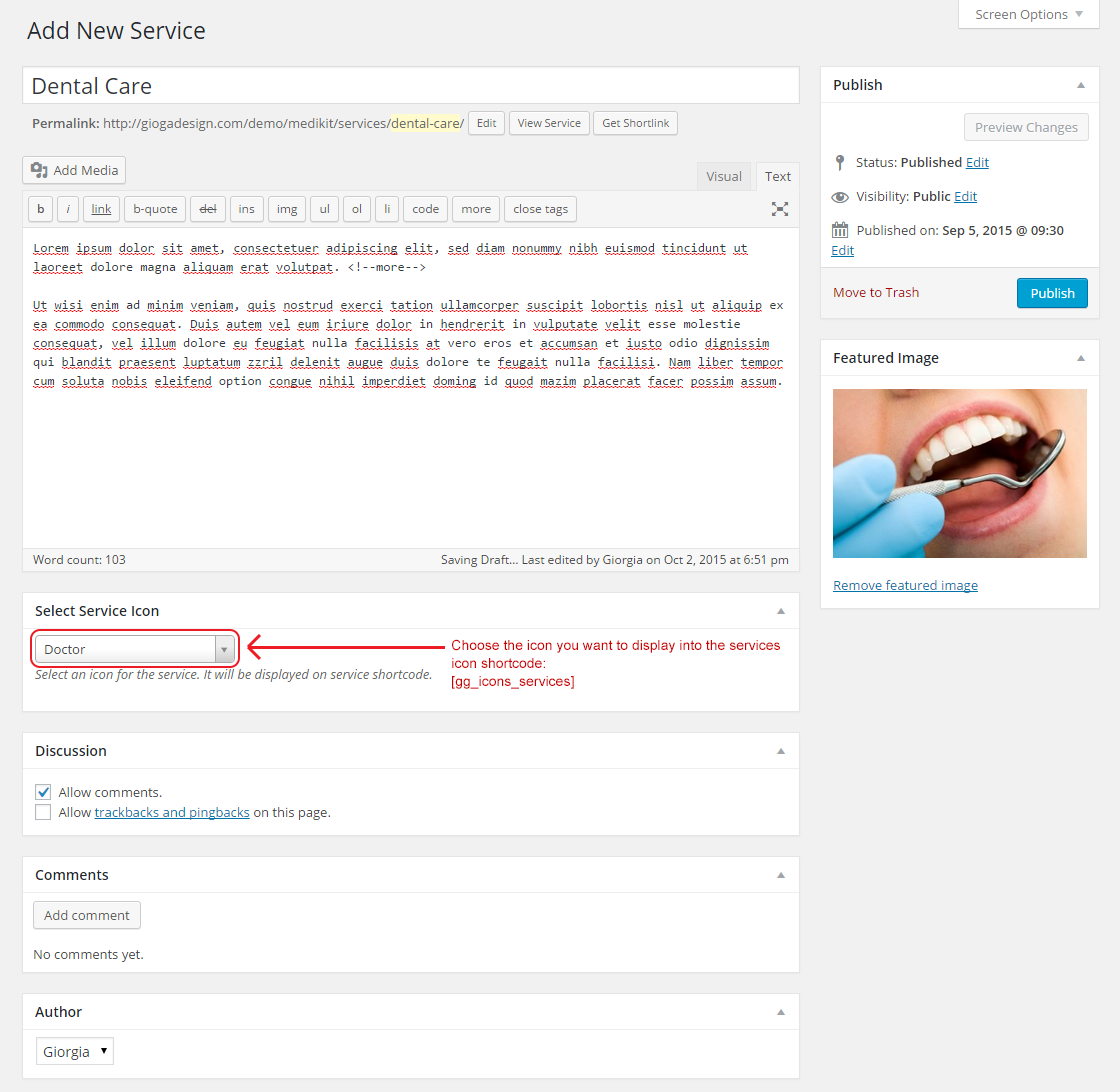
Add new Service
Directly from the WordPress backend, go to "Services" → "Add New", fill in the fields like the example below then click the "Publish" button.
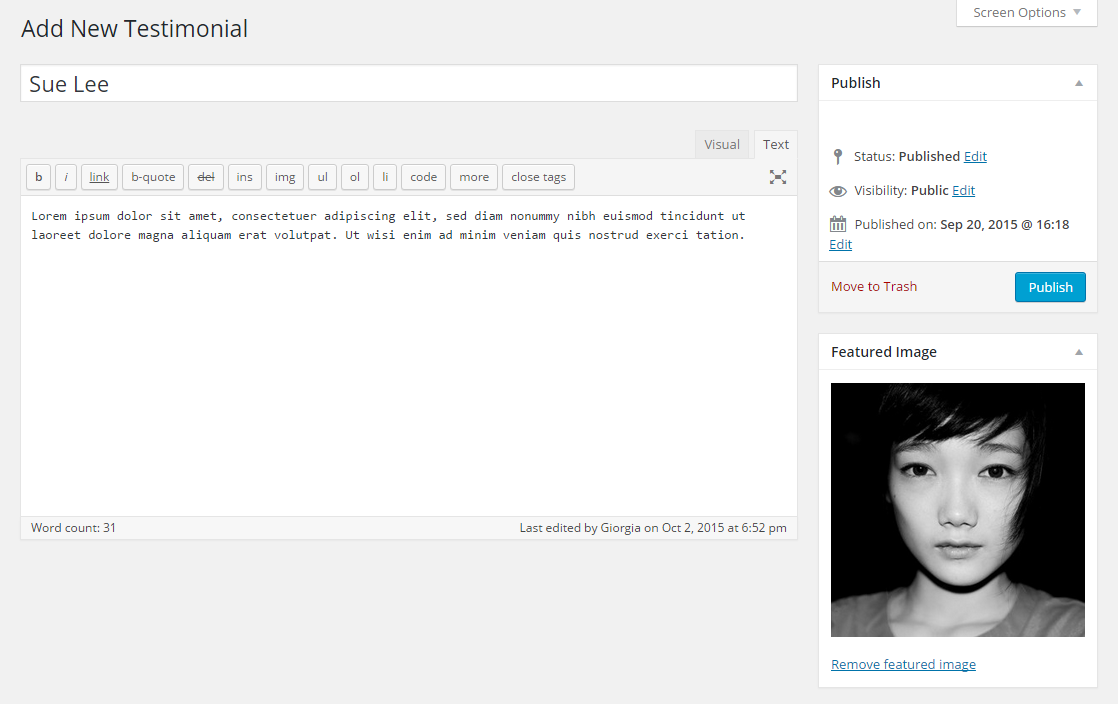
Add new Testimonial
Directly from the WordPress backend, go to "Testimonials" → "Add New", fill in the fields like the example below then click the "Publish" button. Remember that the testimonial featured image should be a square with the same width and height. The testimonials you add here will be visible only using the [gg_testimonials] shortcode.
Shortcodes Overview
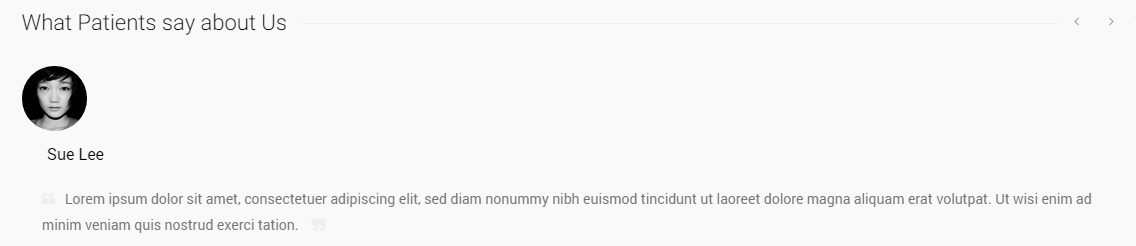
Testimonials
[gg_testimonials]
You can also add a custom title for this shortcode that will be displayed instead of the default "What Patients say about Us":
[gg_testimonials title="Type here your custom title"]
Output
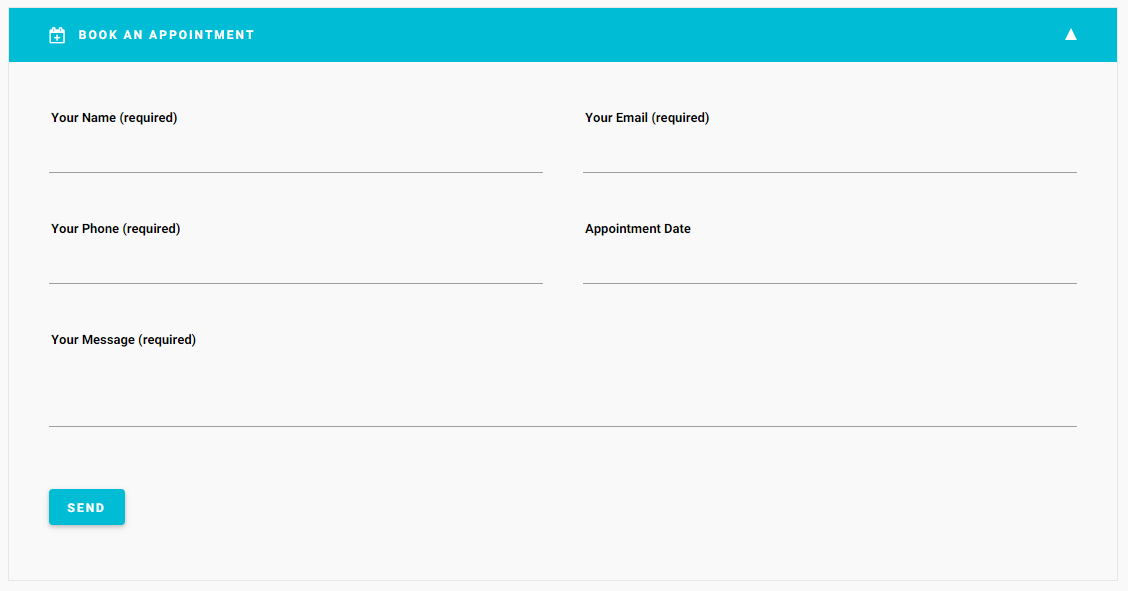
Appointment
[gg_appointment]
You can also add a custom title for this shortcode that will be displayed instead of the default "Book an Appointment":
[gg_appointment title="Type here your custom title"]
Output
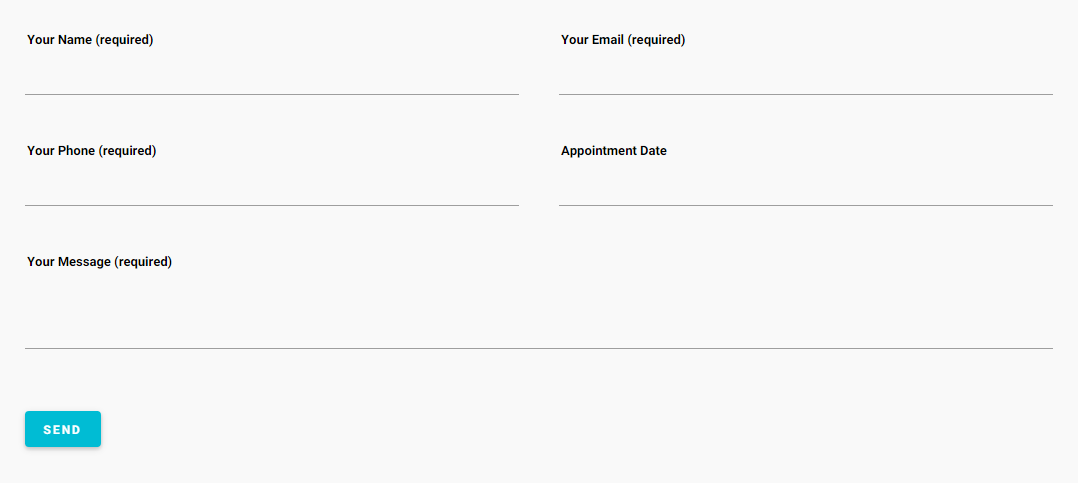
Contact Form
[gg_contact_form]
You can also add a custom email address for this shortcode:
[gg_contact_form mailto="Type here your email address"]
Output
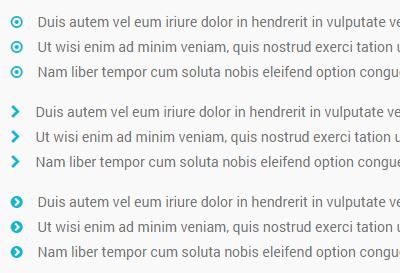
List Types
[gg_list type="list-1"]
								[gg_li]Duis autem vel eum iriure dolor.[/gg_li]
								[gg_li]Ut wisi enim ad minim veniam.[/gg_li]
								[gg_li]Nam liber tempor cum soluta.[/gg_li]
							[/gg_list]
[gg_list type="list-2"]
								[gg_li]Duis autem vel eum iriure dolor.[/gg_li]
								[gg_li]Ut wisi enim ad minim veniam.[/gg_li]
								[gg_li]Nam liber tempor cum soluta.[/gg_li]
							[/gg_list]
[gg_list type="list-3"]
								[gg_li]Duis autem vel eum iriure dolor.[/gg_li]
								[gg_li]Ut wisi enim ad minim veniam.[/gg_li]
								[gg_li]Nam liber tempor cum soluta.[/gg_li]
							[/gg_list]
Output
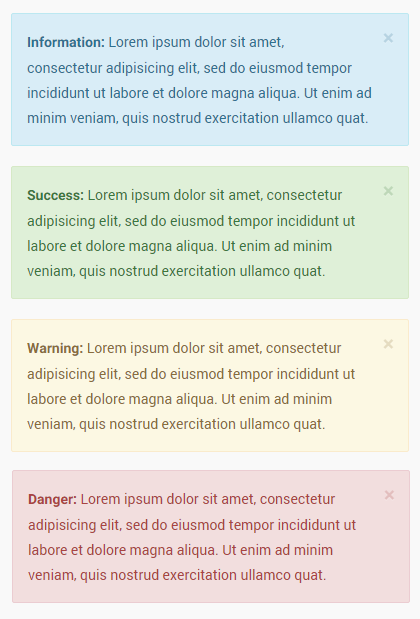
Messages
[gg_message color="alert-info"]Information: Lorem ipsum dolor sit amet, consectetur adipisicing elit, sed do eiusmod tempor incididunt ut labore et dolore magna aliqua. Ut enim ad minim veniam, quis nostrud exercitation ullamco quat.[/gg_message]
[gg_message color="alert-success"]Success: Lorem ipsum dolor sit amet, consectetur adipisicing elit, sed do eiusmod tempor incididunt ut labore et dolore magna aliqua. Ut enim ad minim veniam, quis nostrud exercitation ullamco quat.[/gg_message]
[gg_message color="alert-warning"]Warning: Lorem ipsum dolor sit amet, consectetur adipisicing elit, sed do eiusmod tempor incididunt ut labore et dolore magna aliqua. Ut enim ad minim veniam, quis nostrud exercitation ullamco quat.[/gg_message]
[gg_message color="alert-danger"]Danger: Lorem ipsum dolor sit amet, consectetur adipisicing elit, sed do eiusmod tempor incididunt ut labore et dolore magna aliqua. Ut enim ad minim veniam, quis nostrud exercitation ullamco quat.[/gg_message]
Output
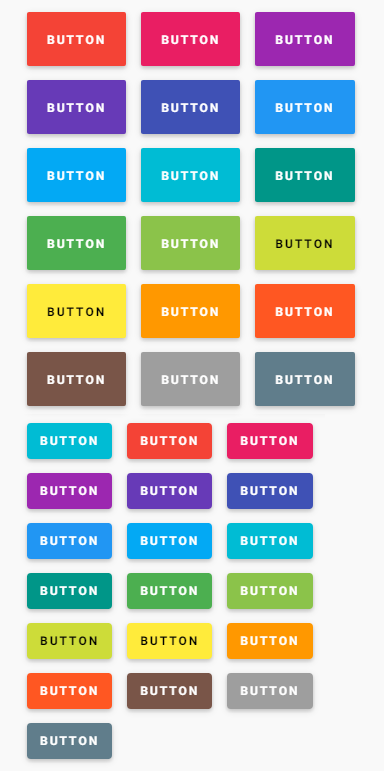
Buttons
[gg_button href="" size="btn-large"]Button[/gg_button]
[gg_button color="red" href="" size="btn-large"]Button[/gg_button]
[gg_button href=""]Button[/gg_button]
[gg_button color="red" href=""]Button[/gg_button]
Possible sizes: btn, btn-large.
Possible colors: red, pink, purple, deep-purple, indigo, blue, light-blue, cyan, teal, green, light-green, lime, yellow, orange, deep-orange, brown, grey, blue-grey.
Insert your button url link into the href parameter:
[gg_button href="https://www.google.com"]Button[/gg_button]
Output
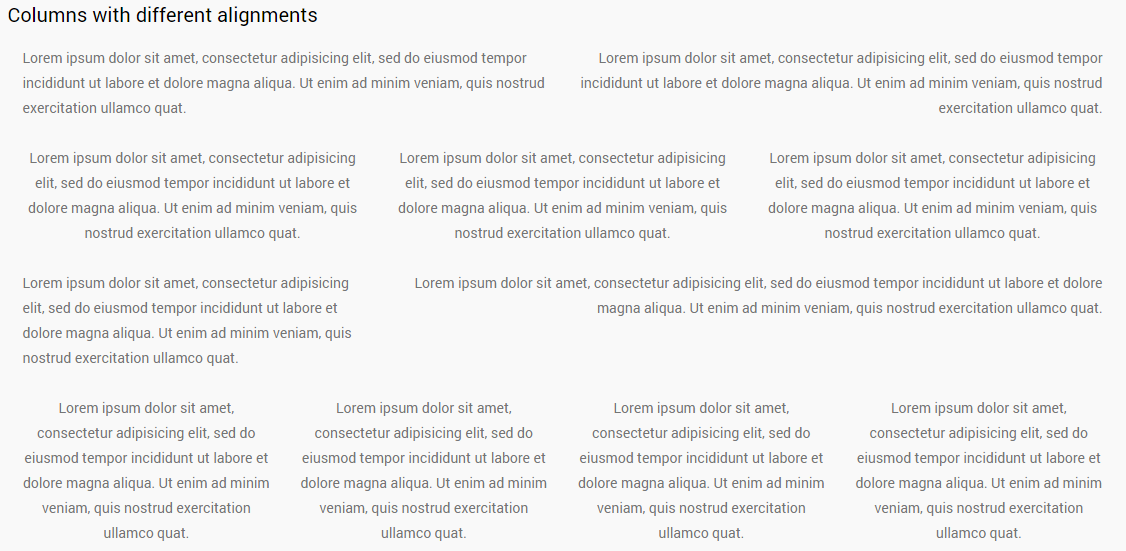
Columns
[gg_row]
								[gg_column width="1/2" align="text-left"] Lorem ipsum dolor sit amet, consectetur adipisicing elit, sed do eiusmod tempor incididunt ut labore et dolore magna aliqua. Ut enim ad minim veniam, quis nostrud exercitation ullamco quat.[/gg_column]
								[gg_column width="1/2" align="text-right"] Lorem ipsum dolor sit amet, consectetur adipisicing elit, sed do eiusmod tempor incididunt ut labore et dolore magna aliqua. Ut enim ad minim veniam, quis nostrud exercitation ullamco quat.[/gg_column]
								[/gg_row]
Possible widths: 1/1, 1/2, 1/3, 2/3, 1/4.
Possible alignments: text-left, text-right, text-center.
Output
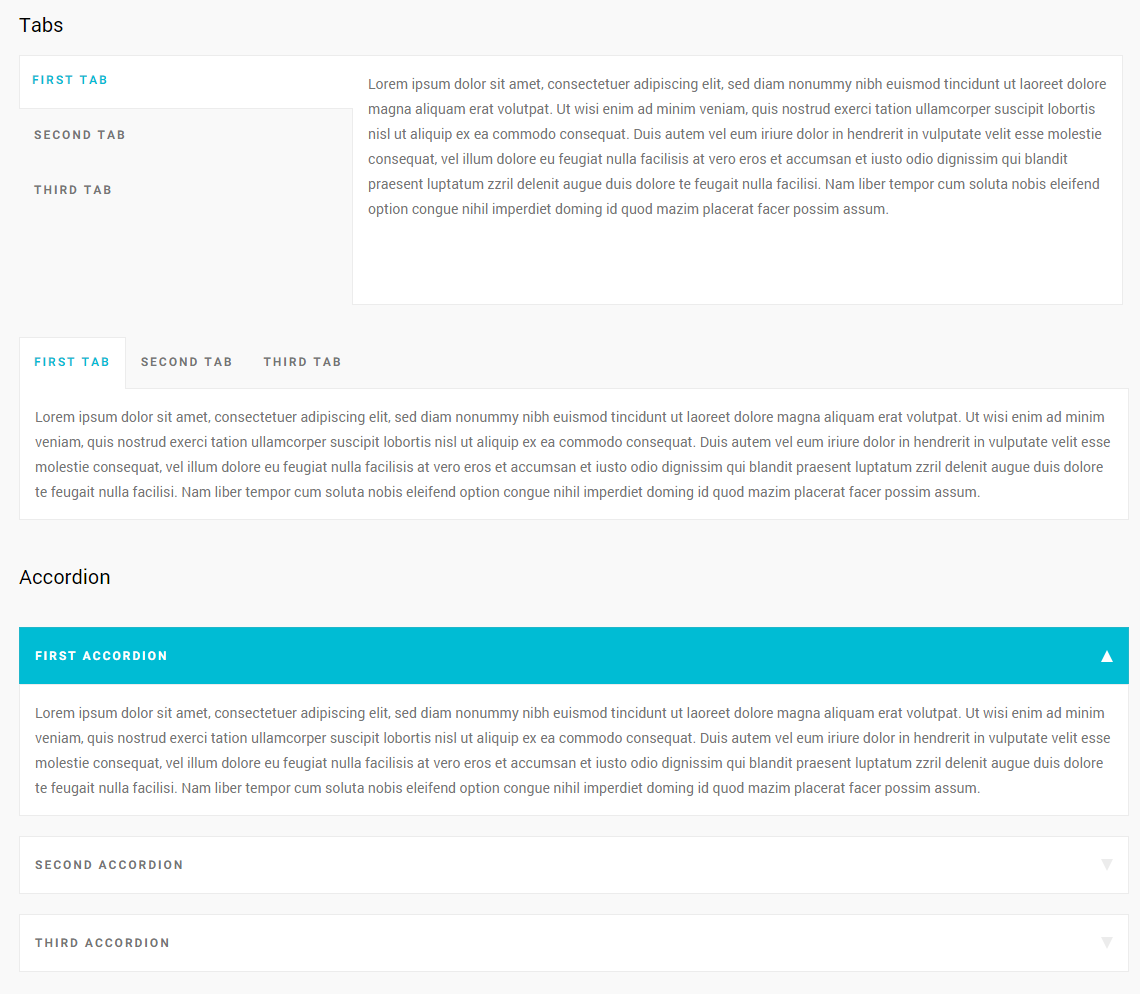
Tabs and Accordion
[gg_tabs type="vertical" fit="true"]
								[gg_tab title="First Tab"] Lorem ipsum dolor sit amet, consectetuer adipiscing elit, sed diam nonummy nibh euismod tincidunt ut laoreet dolore magna aliquam erat volutpat.[/gg_tab]
								[gg_tab title="Second Tab"]Lorem ipsum dolor sit amet, consectetuer adipiscing elit, sed diam nonummy nibh euismod tincidunt ut laoreet dolore magna aliquam erat volutpat. Ut wisi enim ad minim veniam, quis nostrud exerci tation ullamcorper suscipit lobortis nisl ut aliquip ex ea commodo consequat.[/gg_tab]
								[gg_tab title="Third Tab"] Lorem ipsum dolor sit amet, consectetuer adipiscing elit, sed diam nonummy nibh euismod tincidunt ut laoreet dolore magna. [/gg_tab]
							[/gg_tabs]
[gg_tabs type="default" fit="true"]
								[gg_tab title="First Tab"] Lorem ipsum dolor sit amet, consectetuer adipiscing elit, sed diam nonummy nibh euismod tincidunt ut laoreet dolore magna aliquam erat volutpat.[/gg_tab]
								[gg_tab title="Second Tab"]Lorem ipsum dolor sit amet, consectetuer adipiscing elit, sed diam nonummy nibh euismod tincidunt ut laoreet dolore magna aliquam erat volutpat. Ut wisi enim ad minim veniam, quis nostrud exerci tation ullamcorper suscipit lobortis nisl ut aliquip ex ea commodo consequat.[/gg_tab]
								[gg_tab title="Third Tab"] Lorem ipsum dolor sit amet, consectetuer adipiscing elit, sed diam nonummy nibh euismod tincidunt ut laoreet dolore magna. [/gg_tab]
							[/gg_tabs]
[gg_tabs type="accordion" fit="true"]
								[gg_tab title="First Accordion"] Lorem ipsum dolor sit amet, consectetuer adipiscing elit, sed diam nonummy nibh euismod tincidunt ut laoreet dolore magna aliquam erat volutpat.[/gg_tab]
								[gg_tab title="Second Accordion"]Lorem ipsum dolor sit amet, consectetuer adipiscing elit, sed diam nonummy nibh euismod tincidunt ut laoreet dolore magna aliquam erat volutpat. Ut wisi enim ad minim veniam, quis nostrud exerci tation ullamcorper suscipit lobortis nisl ut aliquip ex ea commodo consequat.[/gg_tab]
								[gg_tab title="Third Accordion"] Lorem ipsum dolor sit amet, consectetuer adipiscing elit, sed diam nonummy nibh euismod tincidunt ut laoreet dolore magna. [/gg_tab]
							[/gg_tabs]
Possible types: default, vertical, accordion.
Possible fits: true, false.
You can also add a custom title for every tab.
Output
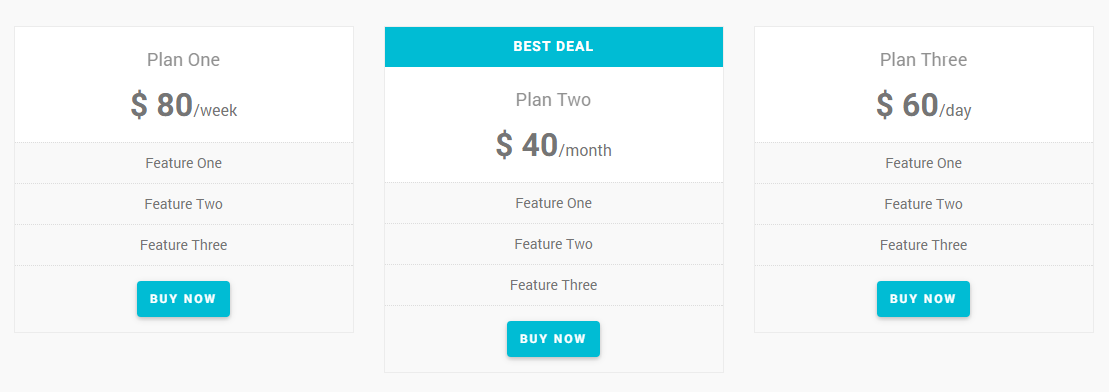
Pricing Planes
[gg_pricing_plan title="Plan One" period="week" price="$ 80"]
								[gg_li_pricing]Feature One[/gg_li_pricing]
								[gg_li_pricing]Feature Two[/gg_li_pricing]
								[gg_li_pricing]Feature Three[/gg_li_pricing]
								[gg_li_pricing]
									[gg_button href="http://giogadesign.com/demo/medikit/"]Buy Now[/gg_button]
								[/gg_li_pricing]
							[/gg_pricing_plan]
[gg_pricing_plan title="Plan Two" price="$ 40" period="month" highlighted="best deal"]
								[gg_li_pricing]Feature One[/gg_li_pricing]
								[gg_li_pricing]Feature Two[/gg_li_pricing]
								[gg_li_pricing]Feature Three[/gg_li_pricing]
								[gg_li_pricing]
									[gg_button href="http://giogadesign.com/demo/medikit/"]Buy Now[/gg_button]
								[/gg_li_pricing]
							[/gg_pricing_plan]
[gg_pricing_plan title="Plan Three" period="day" price="$ 60"]
								[gg_li_pricing]Feature One[/gg_li_pricing]
								[gg_li_pricing]Feature Two[/gg_li_pricing]
								[gg_li_pricing]Feature Three[/gg_li_pricing]
								[gg_li_pricing]
									[gg_button href="http://giogadesign.com/demo/medikit/"]Buy Now[/gg_button]
								[/gg_li_pricing]
							[/gg_pricing_plan]
Output
Sections
[gg_section text_color="#fff" background_color="#00BCD4" image="http://giogadesign.com/demo/medikit/wp-content/uploads/2015/10/pattern-section.png"]One of the most sublime experiences we can ever have is to wake up feeling healthy after we have been sick.[/gg_section]
Possible parameters: image (your image source), background_color (the background color for your section), text_color (the color for the text of your section).
Output

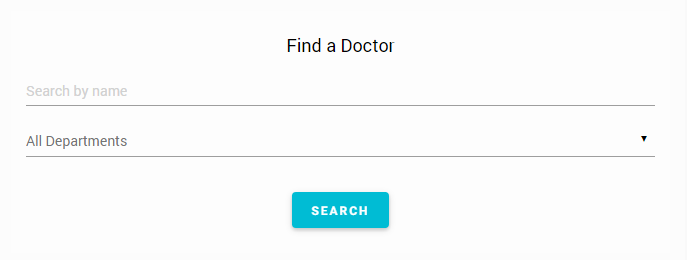
Doctor Search
[gg_doc_search]
You can also add a custom title for this shortcode that will be displayed instead of the default "Find a Doctor":
[gg_doc_search title="Type here your custom title"]
Output
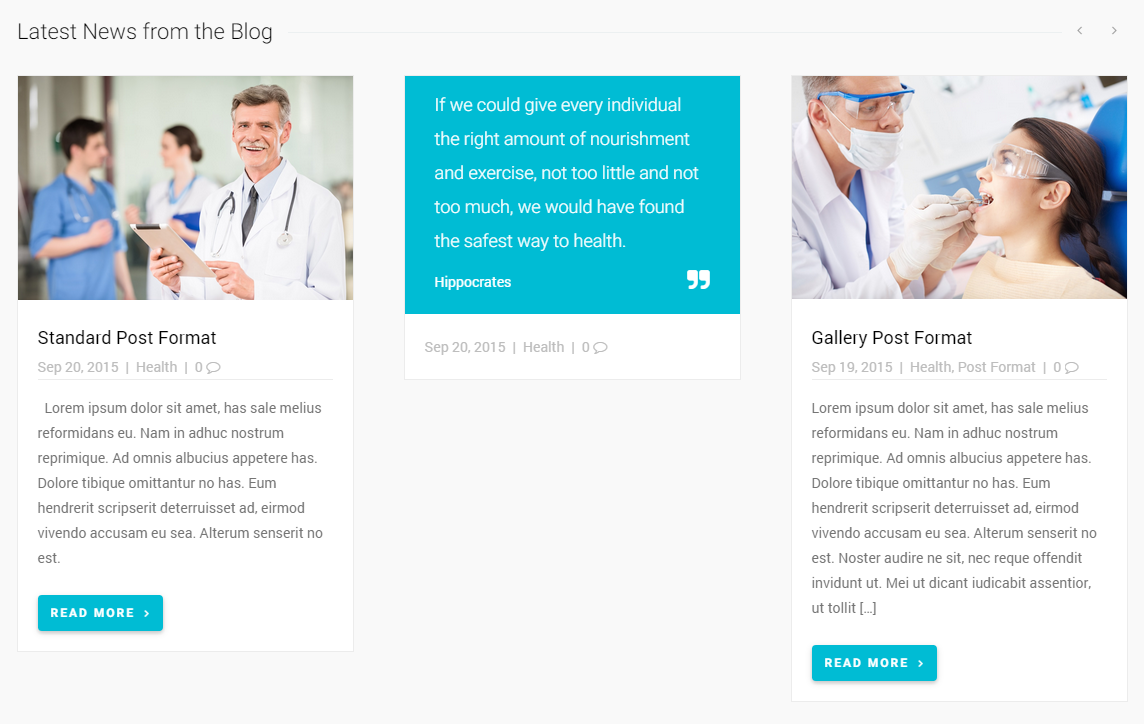
Recent Posts
[gg_recent_posts]
You can also add a custom title for this shortcode that will be displayed instead of the default "Latest News from the Blog":
[gg_recent_posts title="Type here your custom title"]
Output
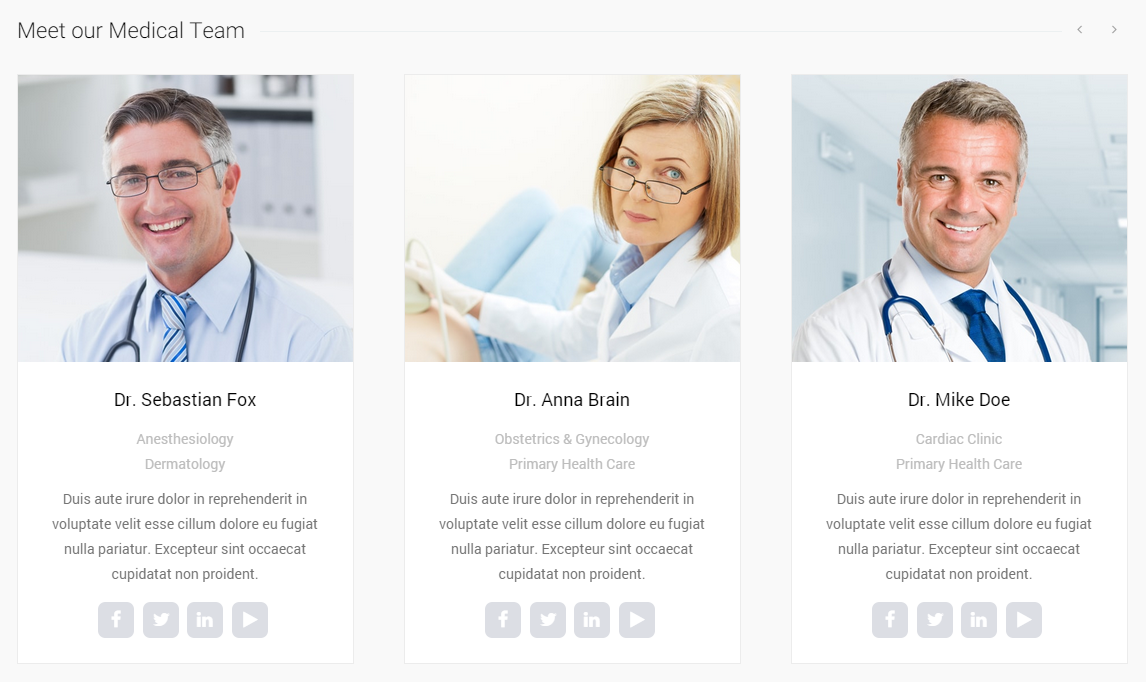
Recent Doctors
[gg_doctors]
You can also add a custom title for this shortcode that will be displayed instead of the default "Meet our Medical Team":
[gg_doctors title="Type here your custom title"]
Output
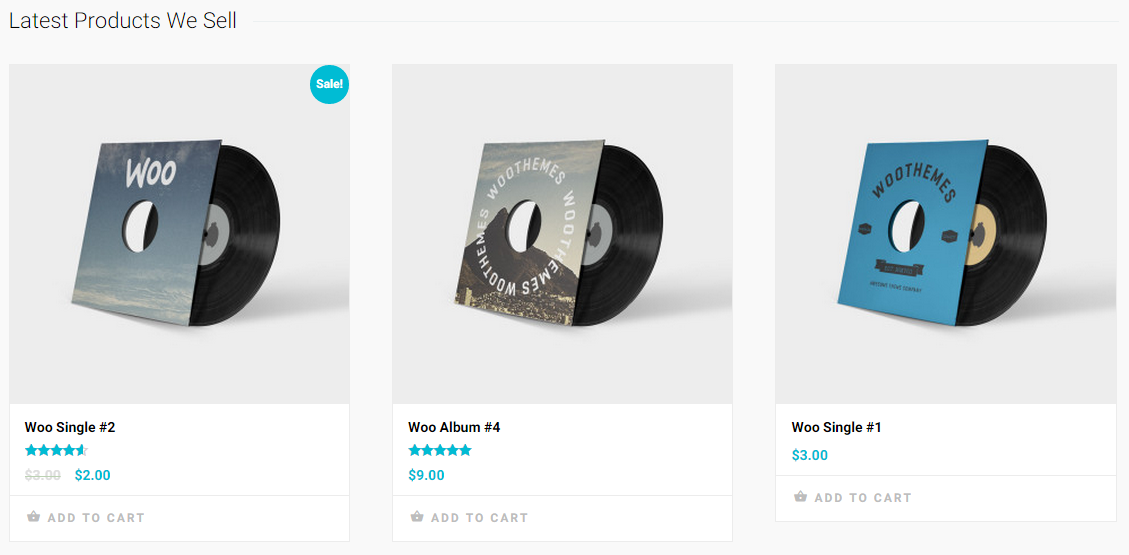
Recent Products
[gg_recent_products]
You can also add a custom title for this shortcode that will be displayed instead of the default "Latest Products We Sell":
[gg_recent_products title="Type here your custom title"]
Output
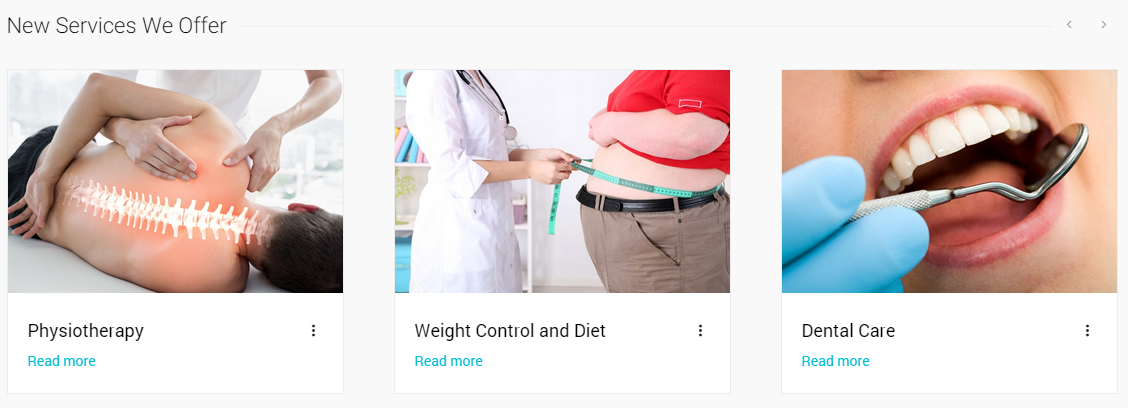
Recent Services
[gg_recent_services]
You can also add a custom title for this shortcode that will be displayed instead of the default "New Services We Offer":
[gg_recent_services title="Type here your custom title"]
Output
Recent Services with icons
[gg_icons_services]
You can also add a custom title for this shortcode that will be displayed instead of the default "New Services We Offer":
[gg_icons_services title="Type here your custom title"]
Output
Premium Plugin
Purchasing Medikit you save $19, the value of premium plugin included with the theme (Slider Revolution). You can also use the shortcodes generated by this plugin in any widget area within the sidebars.
Slider Revolution
To install Slider Revolution, from the WordPress backend go to "Plugins" → "Add new" and click to the " Upload Plugin" button at the top of the page. Then upload the revslider.zip file you find inside the "plugins" folder of the theme main files.
If you have any questions about Slider Revolution plugin, please check its documentation.
Import Demo Contents
When you first install Medikit theme, it will not contain all the extra content that you might have seen in the live demo. To import the Medikit demo content you can choose one of the two different procedures: auto import demo contents or manual import demo contents.
Auto import demo contents
From the WordPress backend, go to "Theme Options" → "Demo Importer" and press "Import Demo" button, as pointed in screen shot below. Now wait, It can take few minutes as images are fetched from remote server. You can visit your site once done.

Manual import demo contents
To manual import the Medikit demo contents you need to follow these steps (remember that you do not need to follow this section if you have already imported demo contents using auto import demo contents feature explained above):
- from the WordPress backend go to "Pages" → "All Pages" and delete all the default pages;
- delete all the default widgets inside the sidebars;
- install and activate the WordPress Importer plugin;
- upload the file medikit_demo_contents.xml contained in the folder called "Dummy Data". To do that, in the WordPress backend, go to "Tools" → "Import";
- choose "WordPress" from the importer system list;
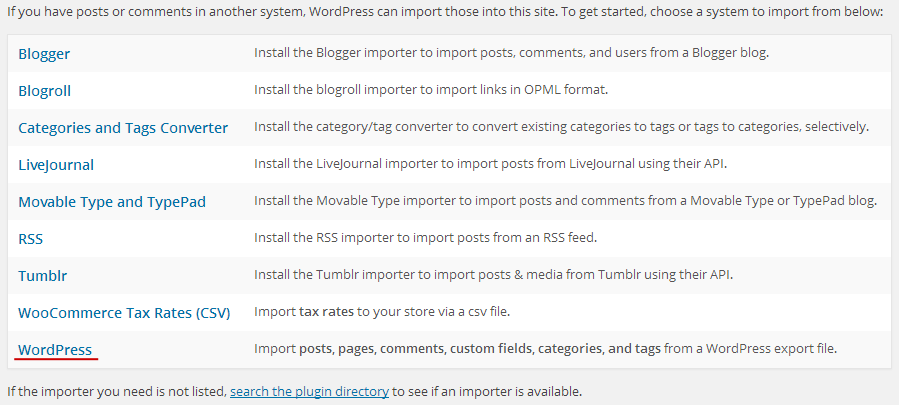
- select the file you want to import (medikit_demo_contents.xml);
- click the "Upload file and import " button;
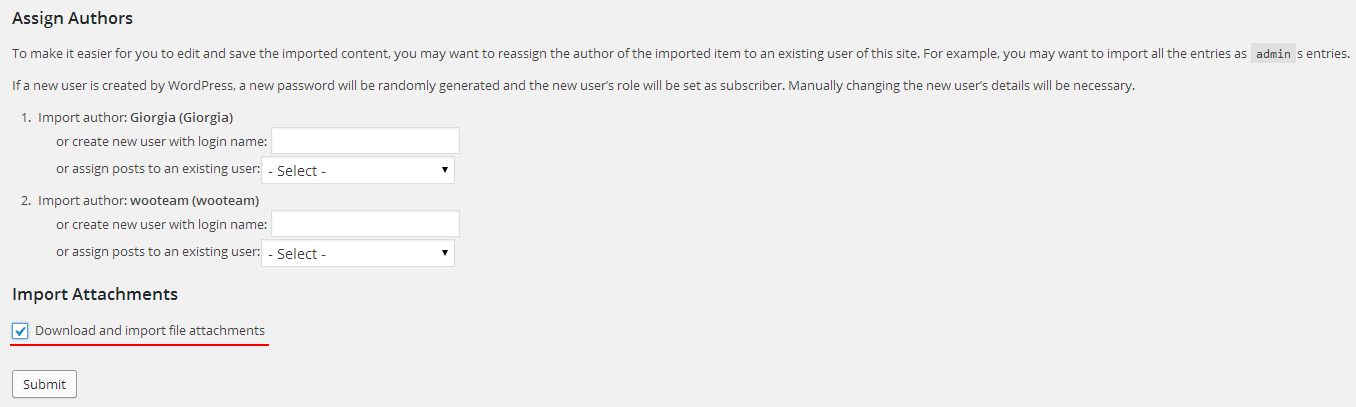
- import or assign author;
- if you want to import the file attachments you see in the demo, check the "Download and import file attachments" box then click the "Submit" button.
To import the demo widgets, install and activate the Widget Importer & Exporter plugin, from the WordPress backend, go to "Tools" → "Widget Importer & Exporter" and into the "Import Widgets" section upload the file called medikit_demo_widgets.wie.
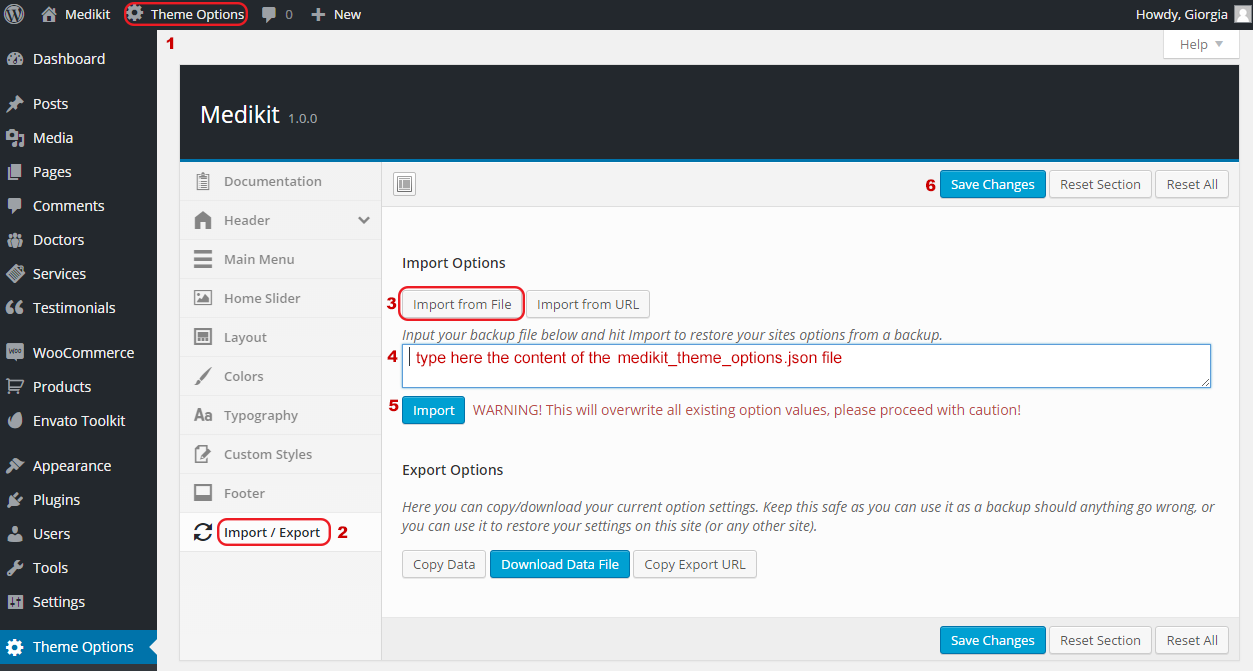
To import the demo theme settings, make sure to have installed and activated the "Redux Framework" plugin:
- from the WordPress backend, go to "Theme Options";
- click the "Import / Export" tab;
- click "Import from File" button;
- type the content of the medikit_theme_options.json file into the textarea;
- click the "Import" button;
- click the "Save Changes" button;
After this procedure, your site should look like the demo.
Update theme and plugins
You can update the theme by activating a different theme for a while, deleting Medikit from the theme list and upload it again via the WordPress backend.
As an alternative you can upload a new version via FTP and override all the old files.
Support
Medikit provides a 100% Free Support to answer your questions and collect your suggestions for future updates and improvements. If you have questions or suggestion about Medikit, please use the comments section on theme page. I'll reply as soon as possible.
Before submitting a question, please remember to check this documentation. Maybe the answer you're looking for is here.